Recurse Center, week something: Weathervane
January 28, 2021 • Reading time: 10 minutes
Hey, my blog has now matured to the point that I'm apologizing for not blogging more! Progress, of a sort.
I'm sorry for not blogging more.
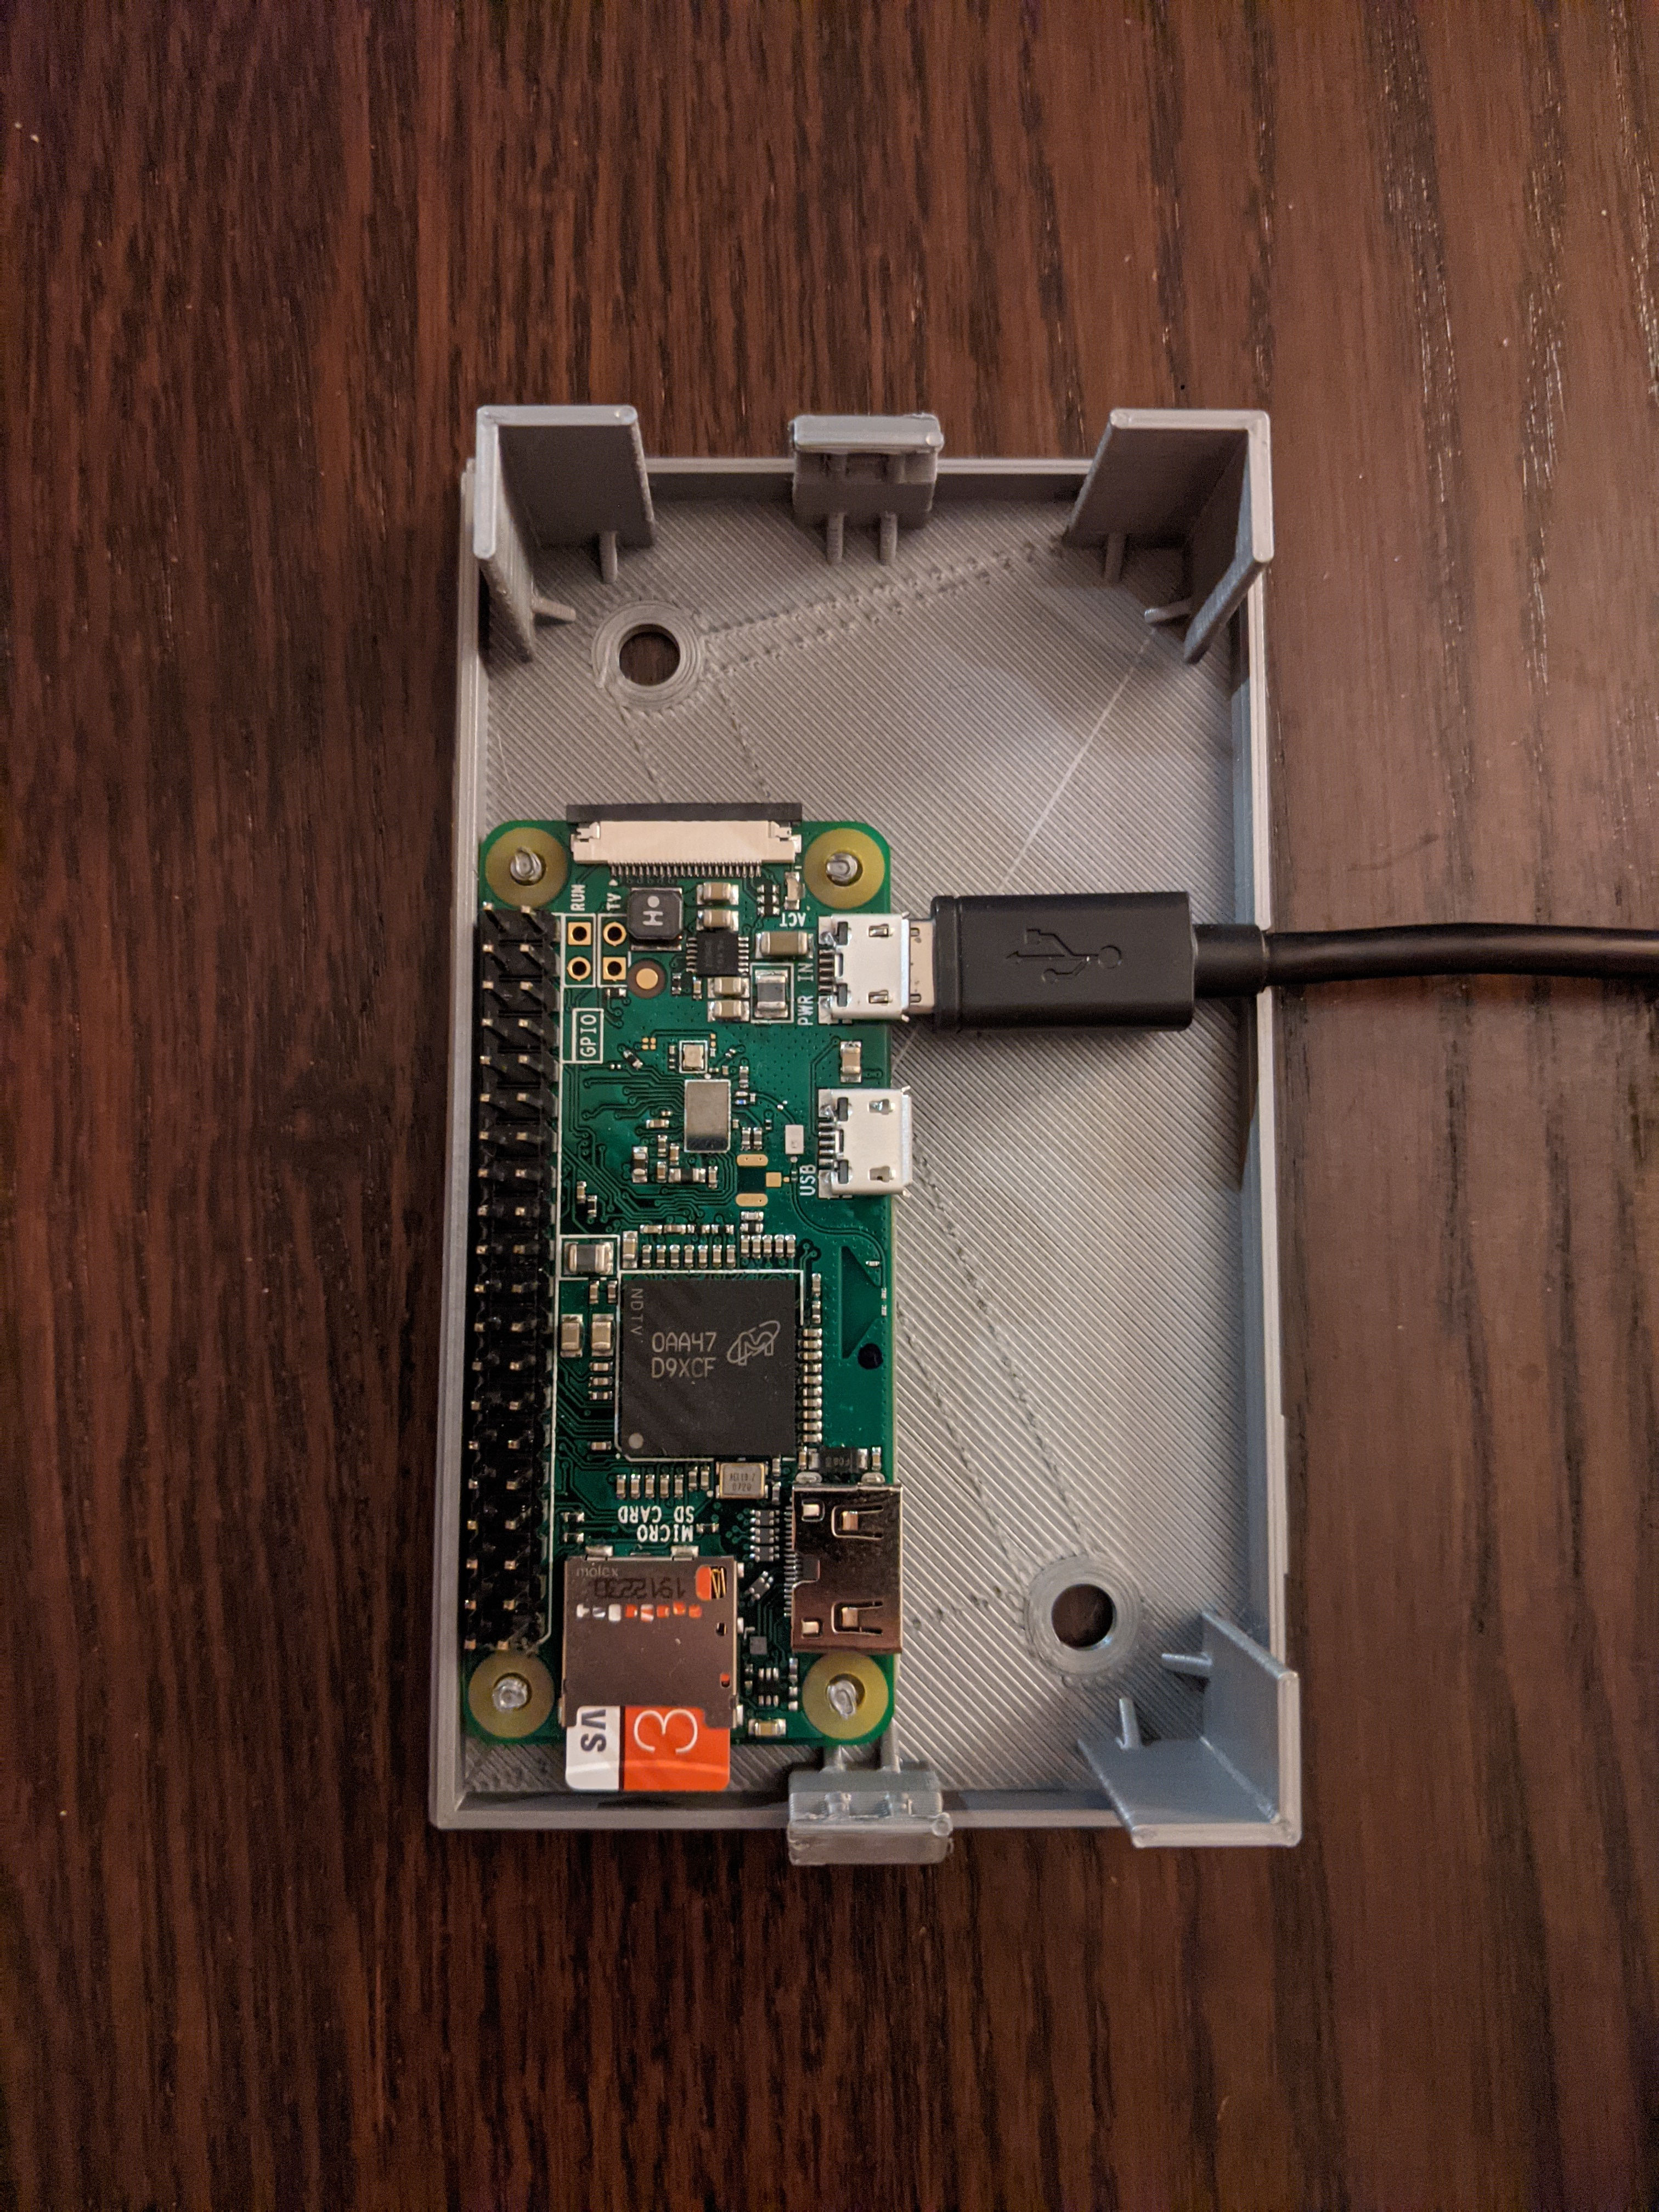
Anyway, I've recently finished what I'd planned to be the capstone project of my time at Recurse Center. I'm calling it Weathervane: an e-paper display mounted on a Raspberry Pi Zero W to give me at-a-glance weather conditions as I'm on my way out the door. No, I haven't calculated if it was worth the time. No, I don't intend to.

It unexpectedly turned out to be the perfect project for one simple reason: it included a whole lot of stuff that I didn't know how to do. Okay, that was expected, but the serendipitous part was that none of those things were blocking each other. I was able to architecture the code such that all of the unknowns were side-by-side and could be replaced with simple mocks until I was ready to tackle them, instead of piled on top of one another in a great big mess of interconnecting dependencies. I think there's a lesson in here, but we'll see if I'm able to apply this discovery to future projects.
So, what hard things did I figure out in the process?
The display
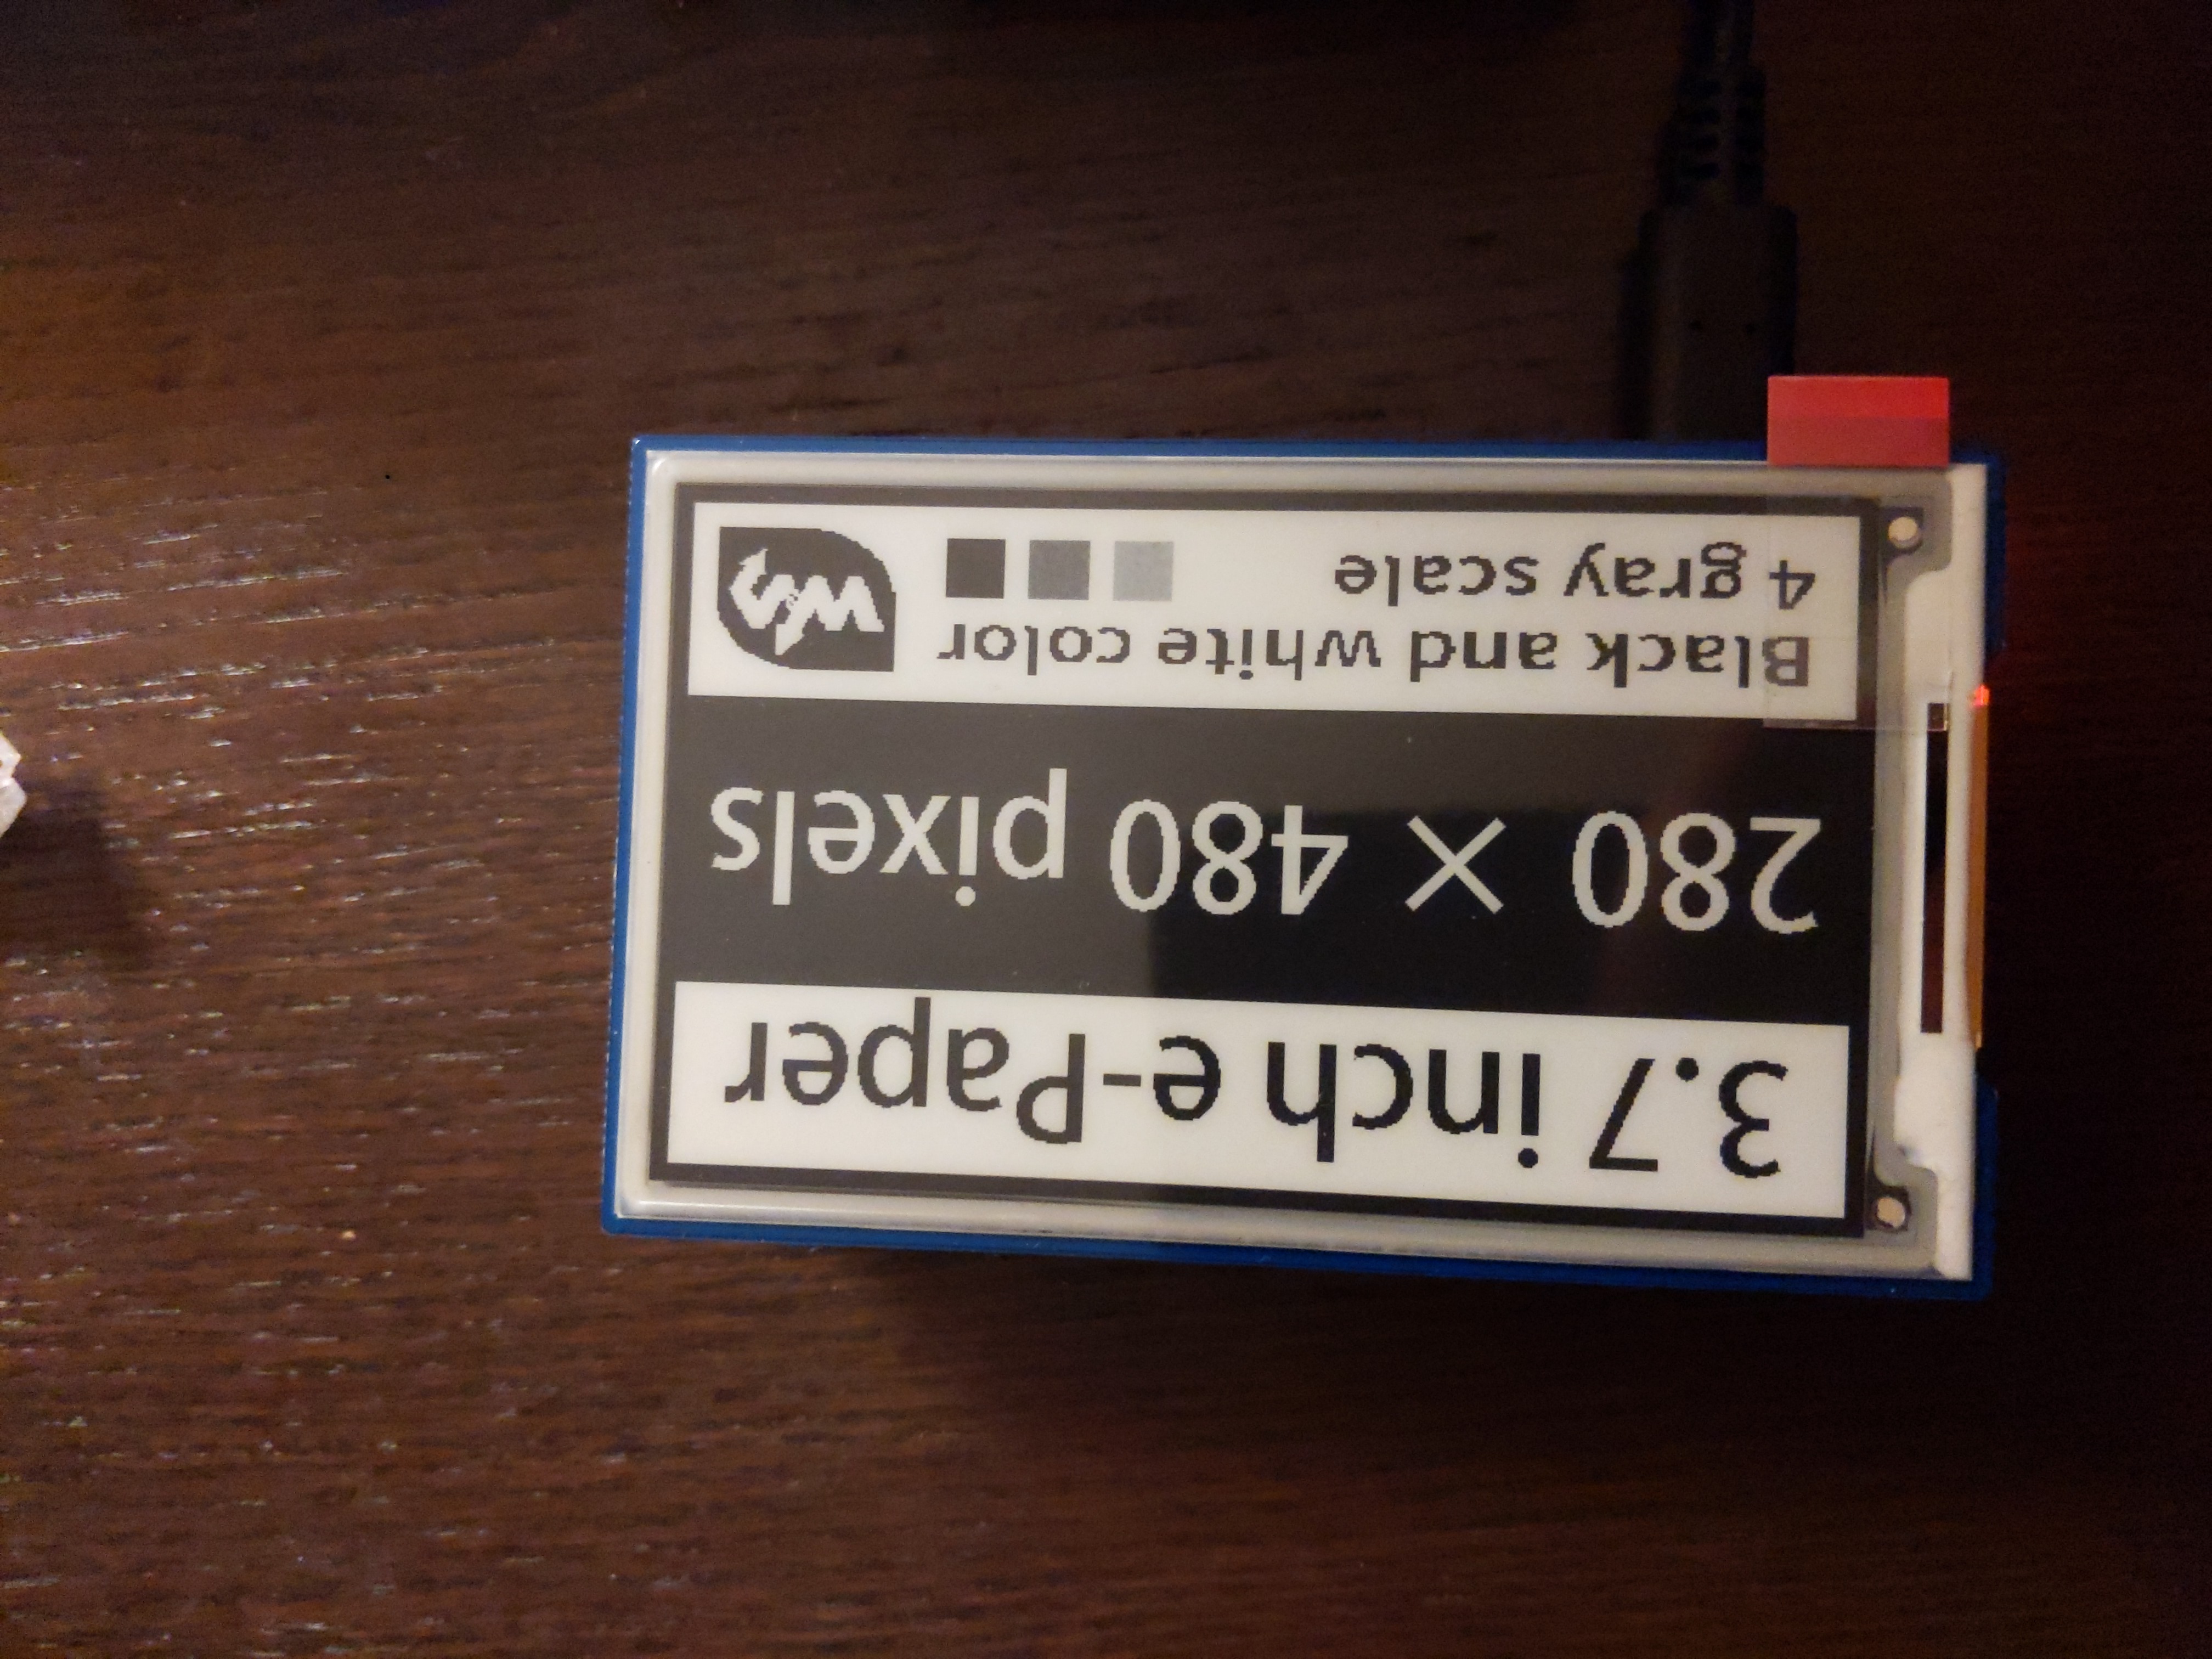
This was the big one. I used a Waveshare 3.7" e-Paper HAT, which uses a SPI interface via the Raspberry Pi's GPIO ports rather than HDMI. Every pixel has to be encoded according to the device's rather arcane documentation and pushed to the display over the hardware interface rather than simply rendering it to the screen. (On the up side, this removes a lot of unnecessary layers between my code and actually showing pretty pictures on the screen.)
This turned out to be a lot of fun. I've never worked directly with hardware before, but I've had a few projects that involved file format and protocol parsing and have enjoyed them immensely. (Crikey IRC currently the only such project that I've been able to open-source, as past projects were at work and I wasn't able to navigate the fledgling bureaucracy of open-sourcing an internal project before I left.)
I don't think there's much in the gritty details that would be particularly interesting, but after a few days of trying to understand the documentation, I dived into the example code provided by the manufacturer and started reverse-engineering the C code in order to port it to Rust. It turned out that there were a few bits in the example code that directly contradicted the docs, so I took the example code as authoritative since it worked.
Drawing images
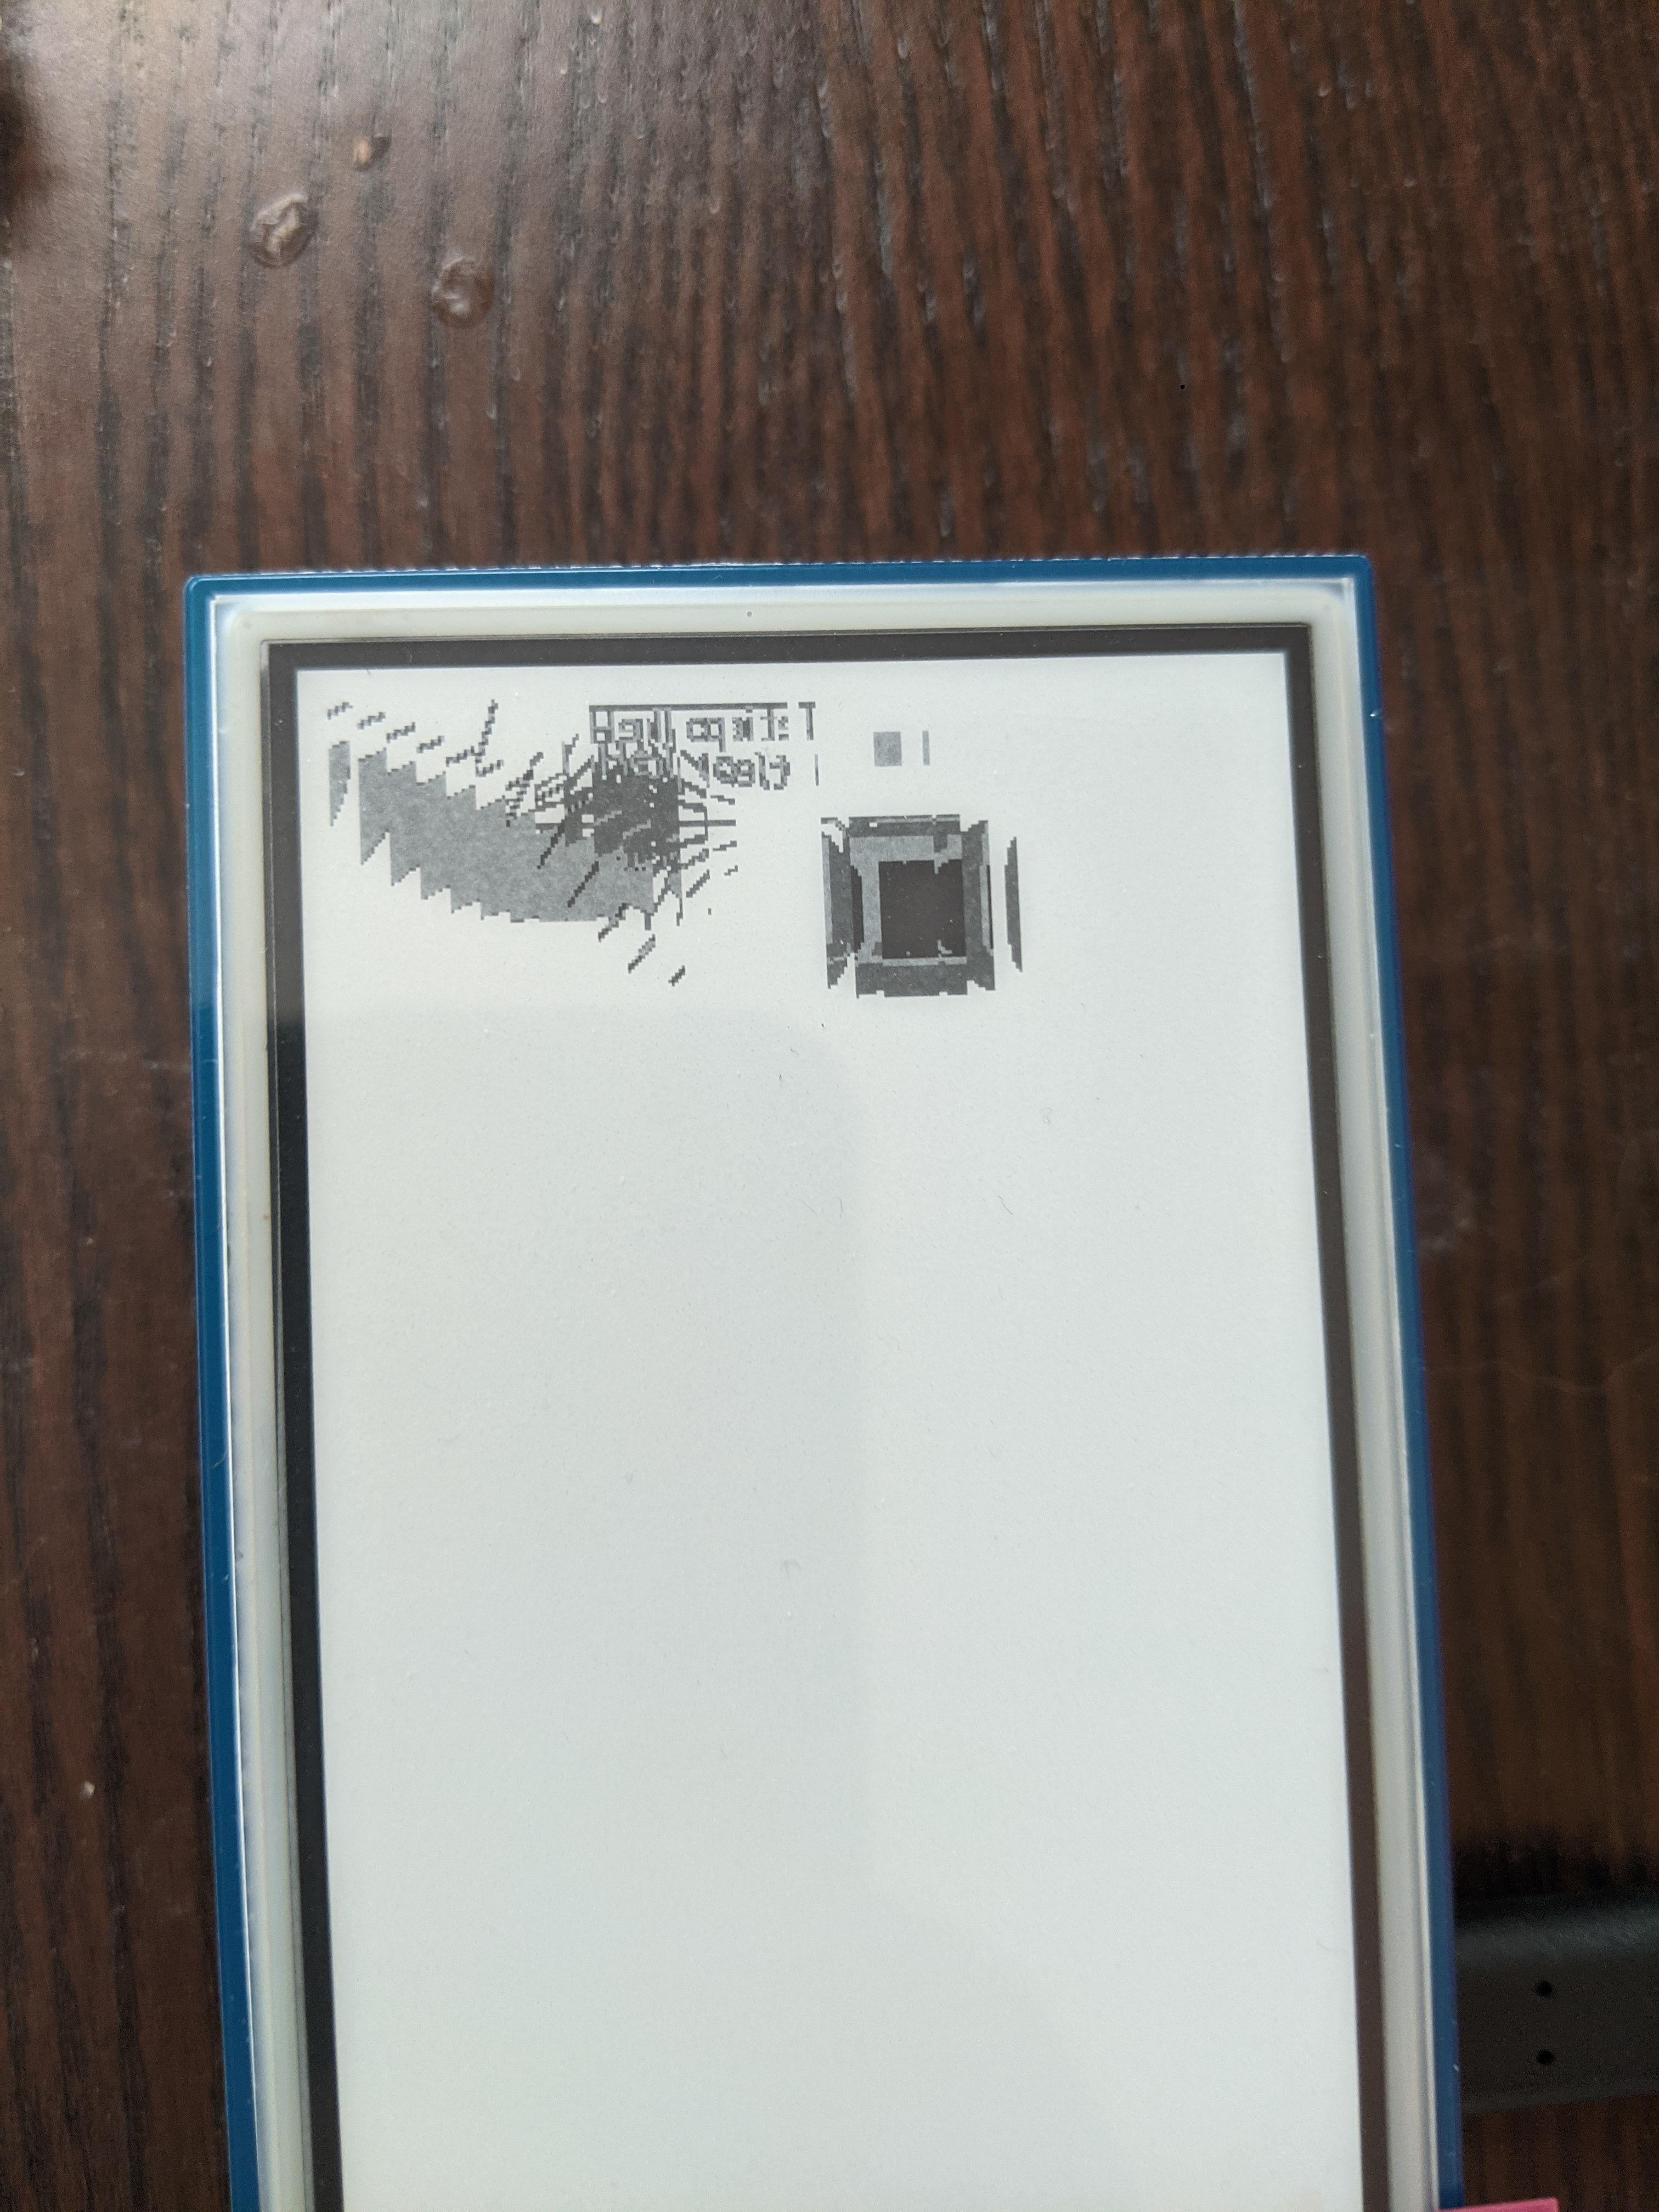
Once my Rust library was able to display a simple checkerboard pattern, it turned out to be a fairly trivial matter to use the resvg and usvg crates to render a simple vector image to the screen!
![]()
More complicated turned out to be using a library to give me a canvas to draw on, rather than just dumping a static image to the screen. I ended up using Piet and its companion kurbo, which I'd grown familiar with thanks to my past experiences with Druid. (All three were created by a fellow RCer, which is pretty cool.)
However, after a lot of trial and error, I was able to build a fairly sane interface to draw on (with some dithering code for good measure), and was finally able to get entirely static content to render on-screen.
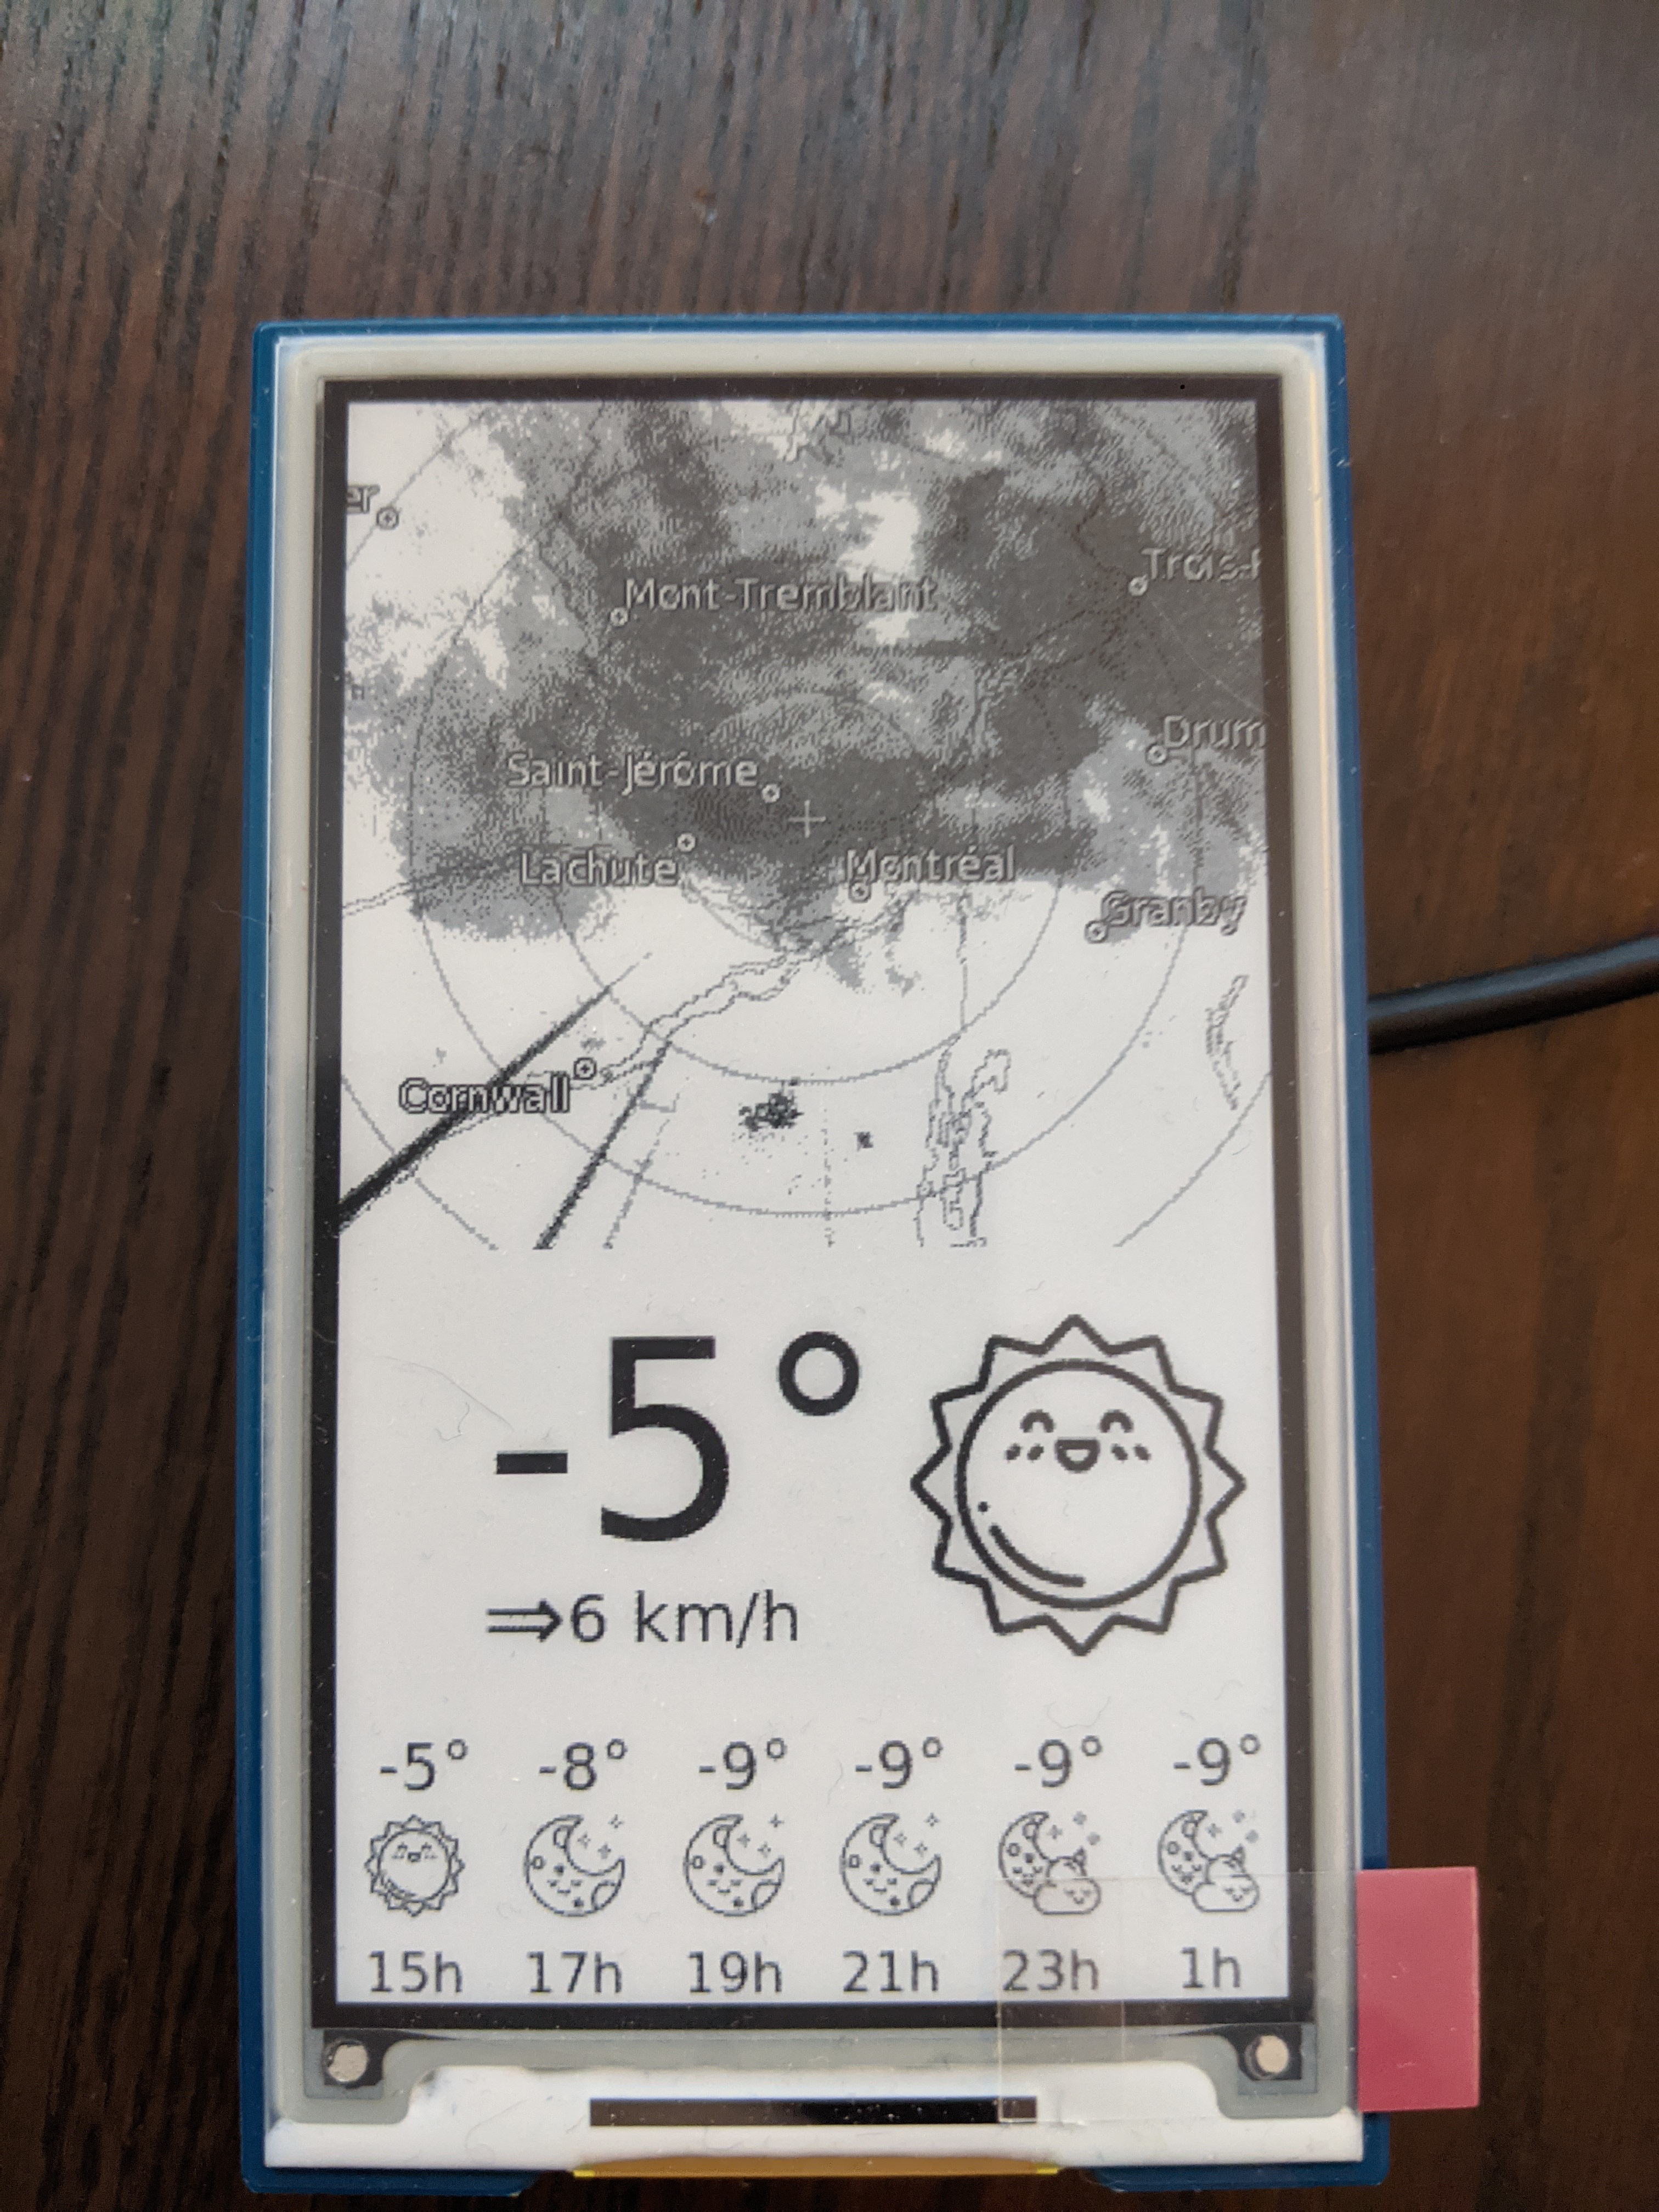
(The icons come from the appropriately named cute weather icon pack by Smashicons.)
API calls
Making API calls wasn't exactly the biggest mystery of the project, thanks to my past life as a PHP developer, but I'd never done so in Rust before, so technically it's a learning experience. More importantly, it was the first time I'd written async code, which was cool.
I used the OpenWeatherMap API and Environment Canada's weather radar to get my data.
Compiling and recompiling
Up until this point, I'd been making each code change on my laptop, committing, pushing to GitHub, pulling on my Raspberry Pi 4, building and testing there. Repeat ad nauseum. This is why the git history is so ugly for the project.
However, I wanted the project to use the lighter-weight Raspberry Pi Zero W, which is substantially slower and uses an older ARM processor. In fact, the standard Rust installer didn't work, failing outright with a segfault. Likewise the binaries I'd compiled.
Next I tried cross, a tool with associated Docker containers that allows code to be cross-compiled to many, many architectures I'd never heard of. I think it would've worked just fine, except that my crates ultimately depended on a few C libraries that also needed to be available in the ARMv6 architecture. I don't think this is an unsolvable problem, but I did spend a few days spinning my wheels trying to get it to work.
Ultimately, I discovered that my original conclusion was wrong: in fact, Rust does run on the Raspberry Pi Zero W, the installer was just broken. Following the manual installation instructions worked just fine.
My code took 260 minutes to compile on the Zero W, so I'm glad I started development on a faster device and only switched to the Zero W when I was done. Happily, and maybe to Rust's credit, absolutely no code changes were required to compile on the older architecture. (That definitely could've swung the other way, so I may have lucked out.)
In retrospect, I should've implemented an emulator to allow the program to run fully on my computer for testing purposes. By the time I realized that, everything was basically done save for a few tweaks, so there wasn't much point. Lesson learned for next time.
The case for the case
This was the biggest unknown for me, even more so than the display. I'd done a fair bit of 3D printing in the past, but I'd only designed one very rudimentary model: a set of feet for my chair. This would be an order of magnitude more complicated.
The first challenge was selecting a tool. I knew that I didn't want to use SketchUp, since that's what I'd used for the chair feet and I found it awkward even for that. I also didn't want to use anything by Autodesk unless I had absolutely no other choice, since they have a long history of dangling features in their freemium products and then snatching them away, and the sunk cost of learning a CAD program is substantial.
I started with FreeCAD, which did indeed have a substantial learning curve. I stuck it out for several days and eventually got comfortable enough with the program that I was able to build more or less the model I wanted.

I was aware that I'd made a lot of rookie mistakes along the way and my product wasn't actually that complicated, so I set out to rebuild the model according to the lessons I'd learned. Instead, I realized that FreeCAD wasn't just hard to use because it was complicated, it was half-broken. Features were incomplete (expressions don't support parentheses?), it's structured to apply a sequence of operations in order but there's no easy way to reorder that sequence, the documentation and even the tutorials are out of date, and I still haven't figured out how to copy-paste.
Next I held my nose and tried to reproduce my model in Fusion 360. The early discovery that I could only save my work to the cloud may have put me in an uncharitable mood, but I found the interface too dumbed-down after the better part of a week of working with FreeCAD. I gladly abandoned it after extruding a simple rectangle.
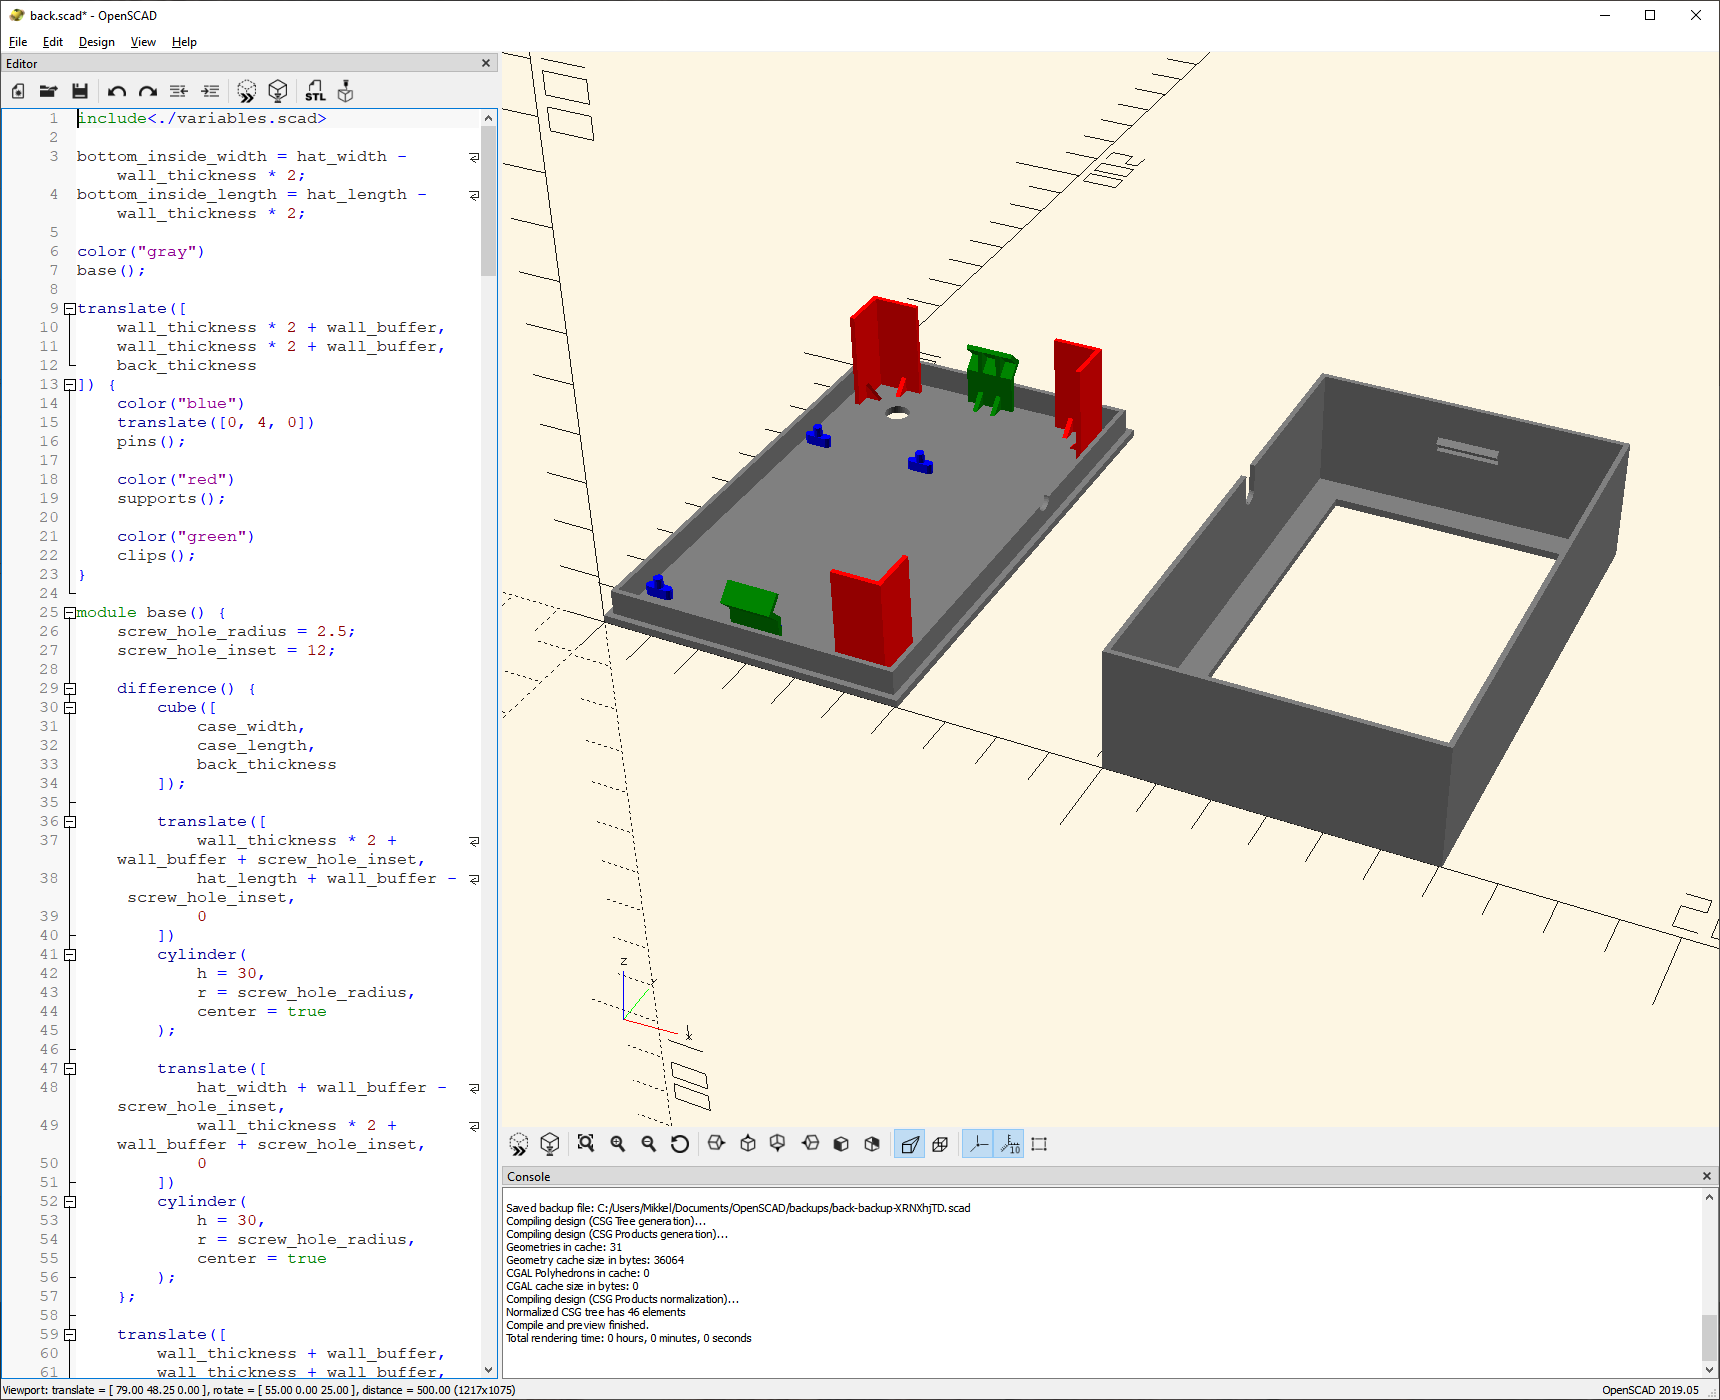
I ended up settling on OpenSCAD at the recommendation of one of my fellow RCers. In their words, it "works the way my brain works". After a glance at the screenshot on the OpenSCAD homepage, I had decided that my brain definitely didn't work in the same way as theirs. However, the amount of wrestling that was required to get the dimensions right in FreeCAD changed my mind. It turns out that calculated values do make life a lot easier, and when you're calculating values, it's a lot easier to work programmatically than trying to use a GUI.
In a remarkably short time, I had successfully reproduced my work from FreeCAD and applied the design review changes suggested by another RCer. (Seeing a trend here? They're a good bunch.)
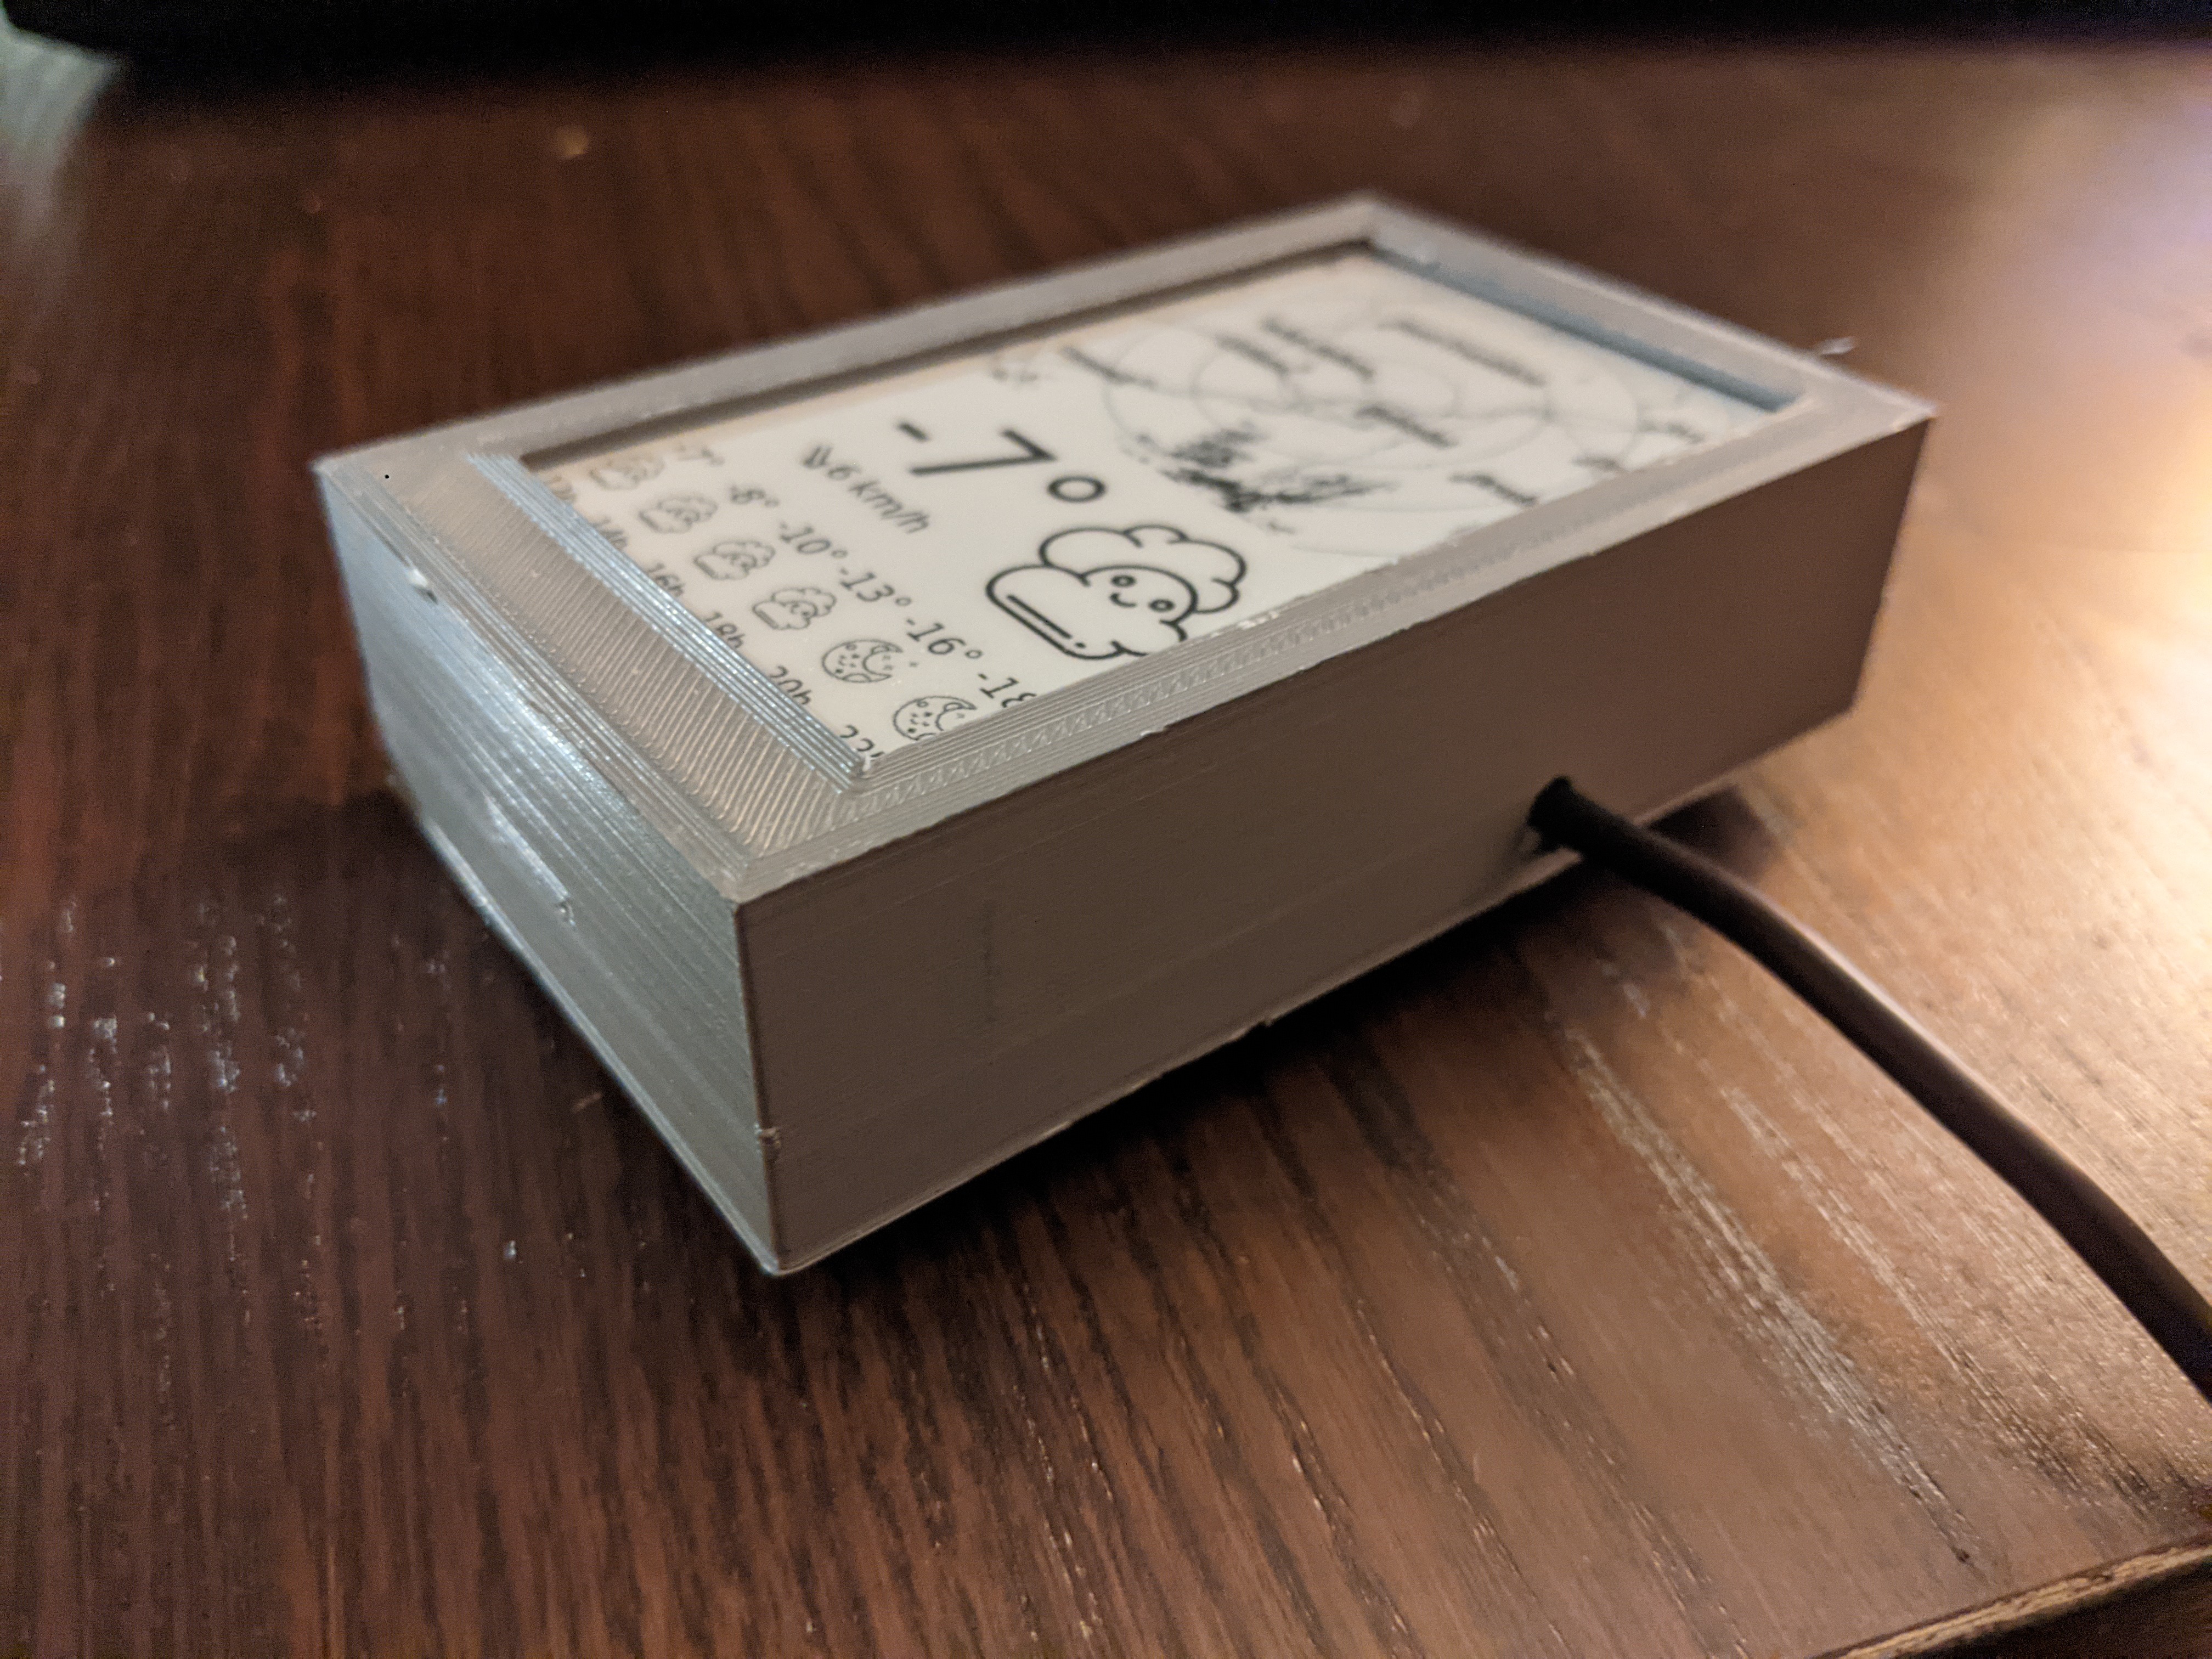
The finished product
The final case has small pins to support and secure the Raspberry Pi, larger pillars in the other three corners to support the display, and tabs that are angled in both directions to make it easy to remove the cover without scratching or breaking a tab.

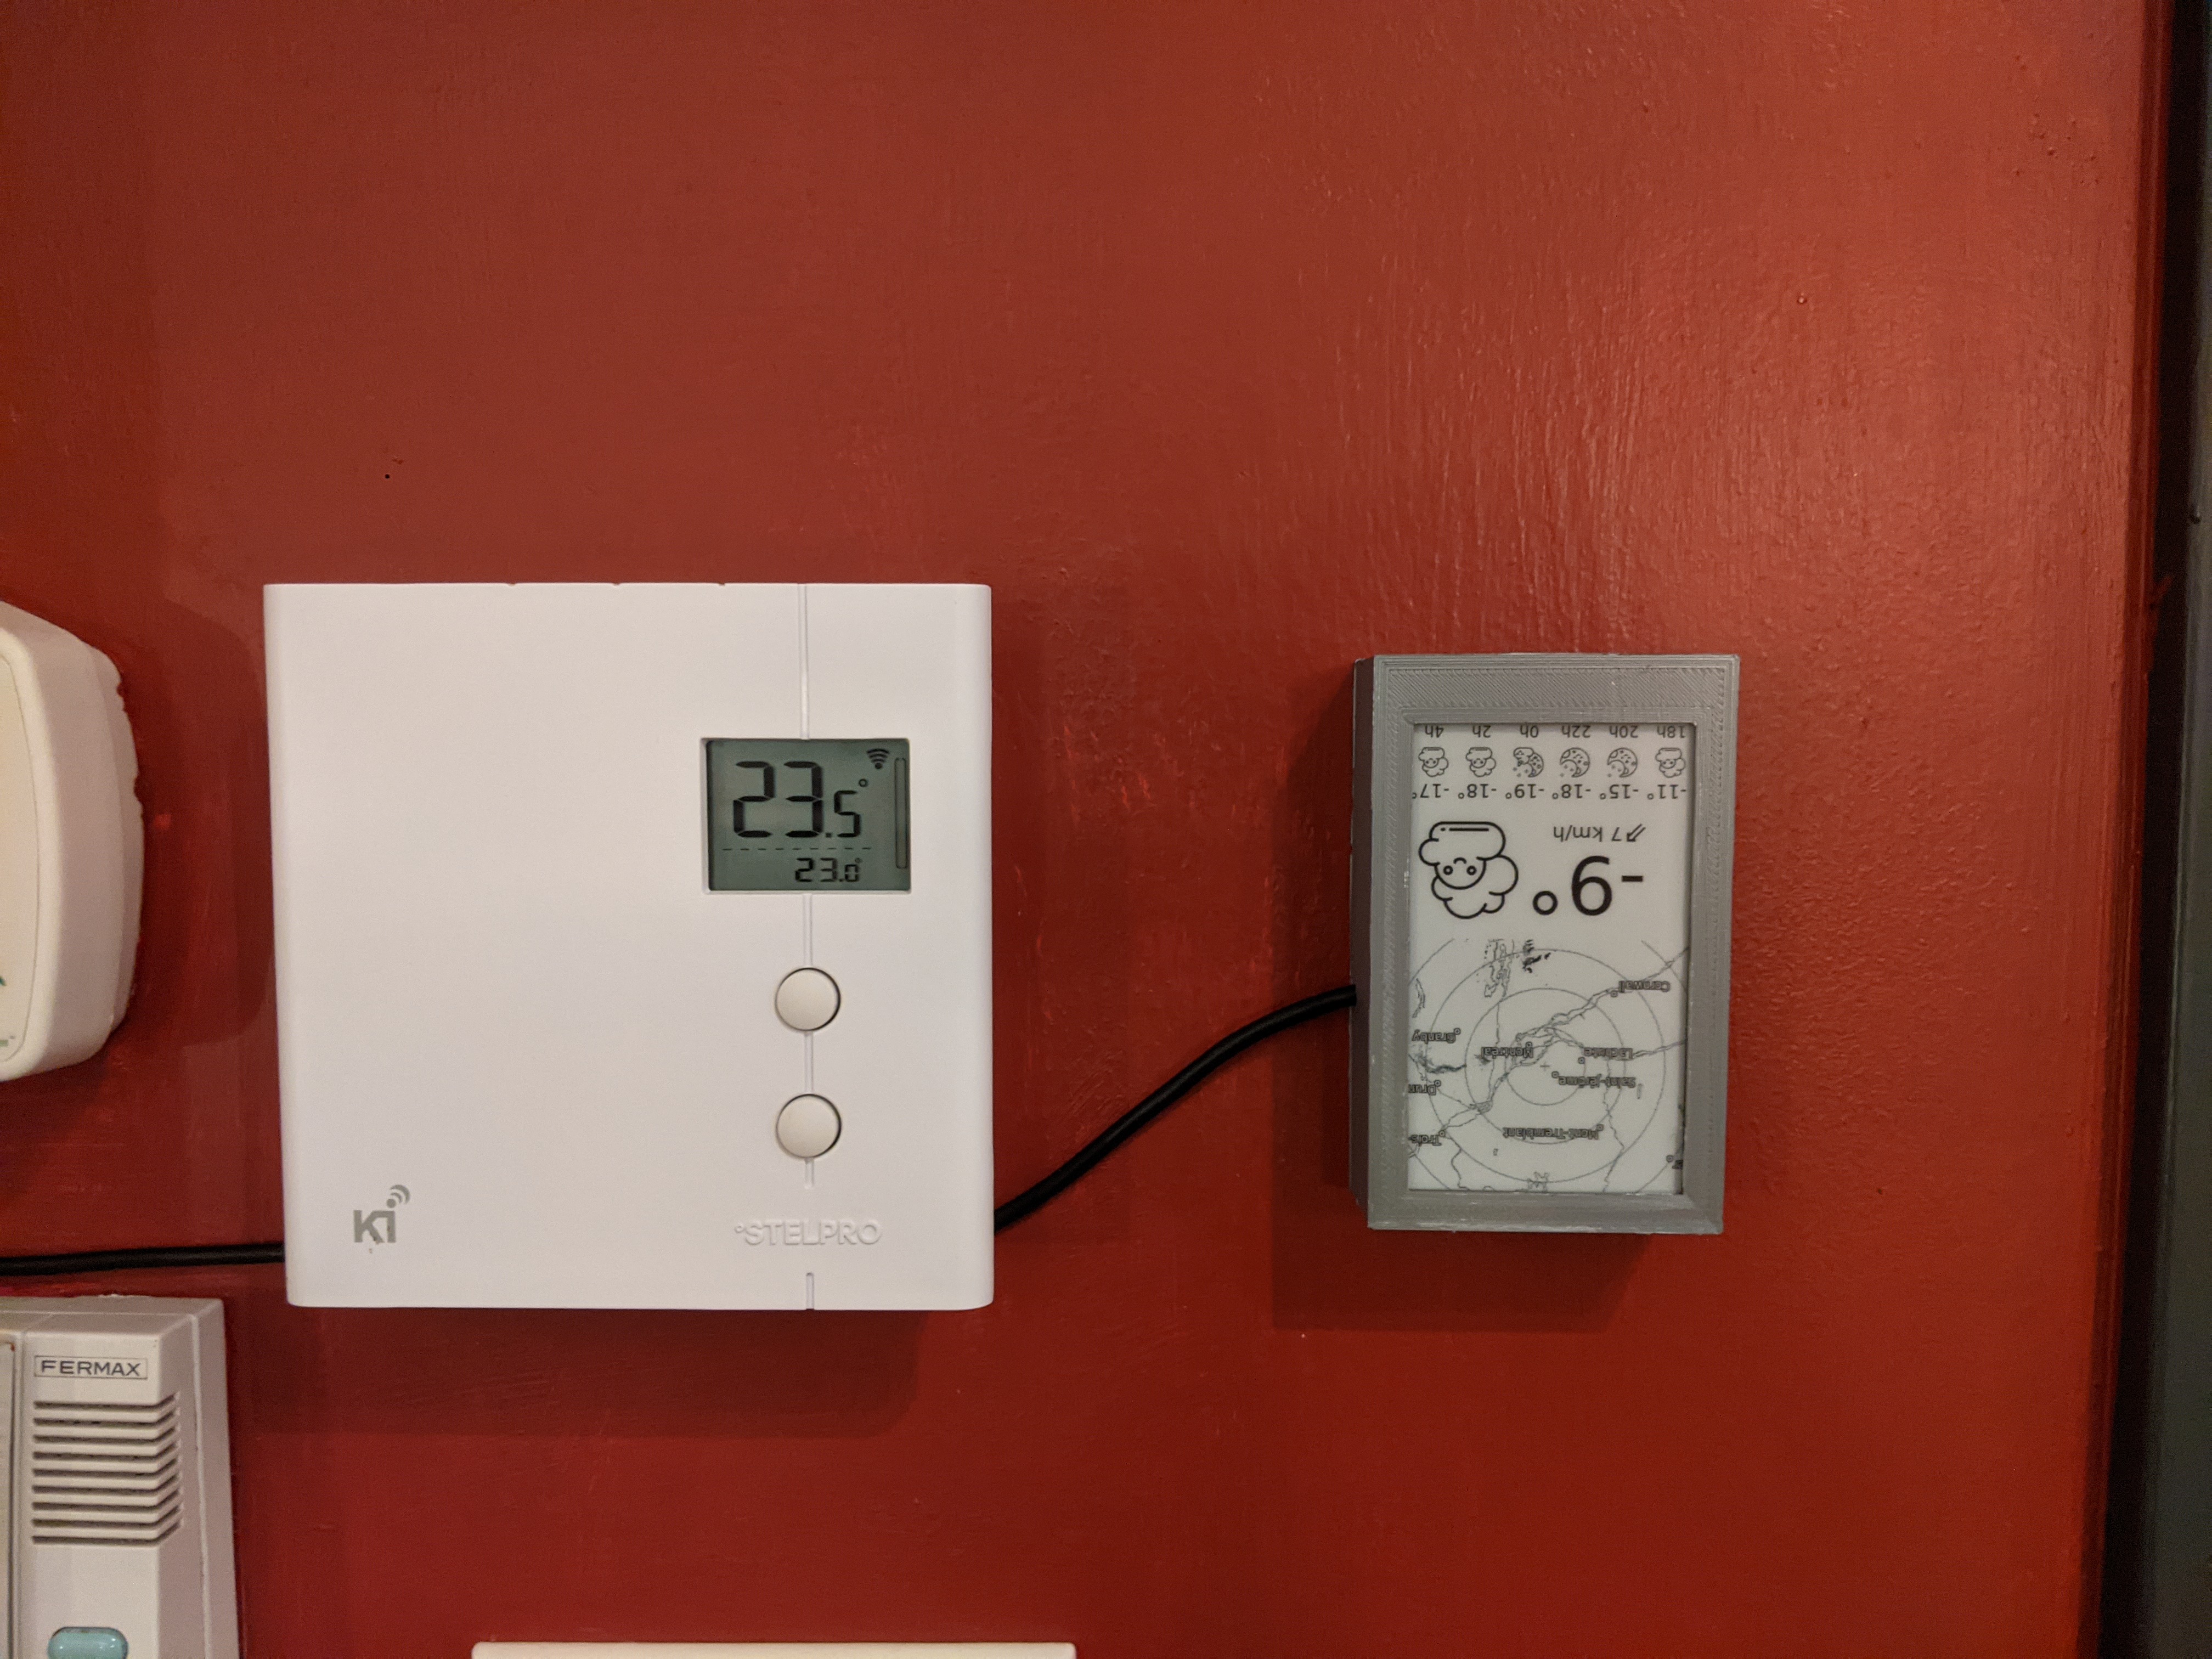
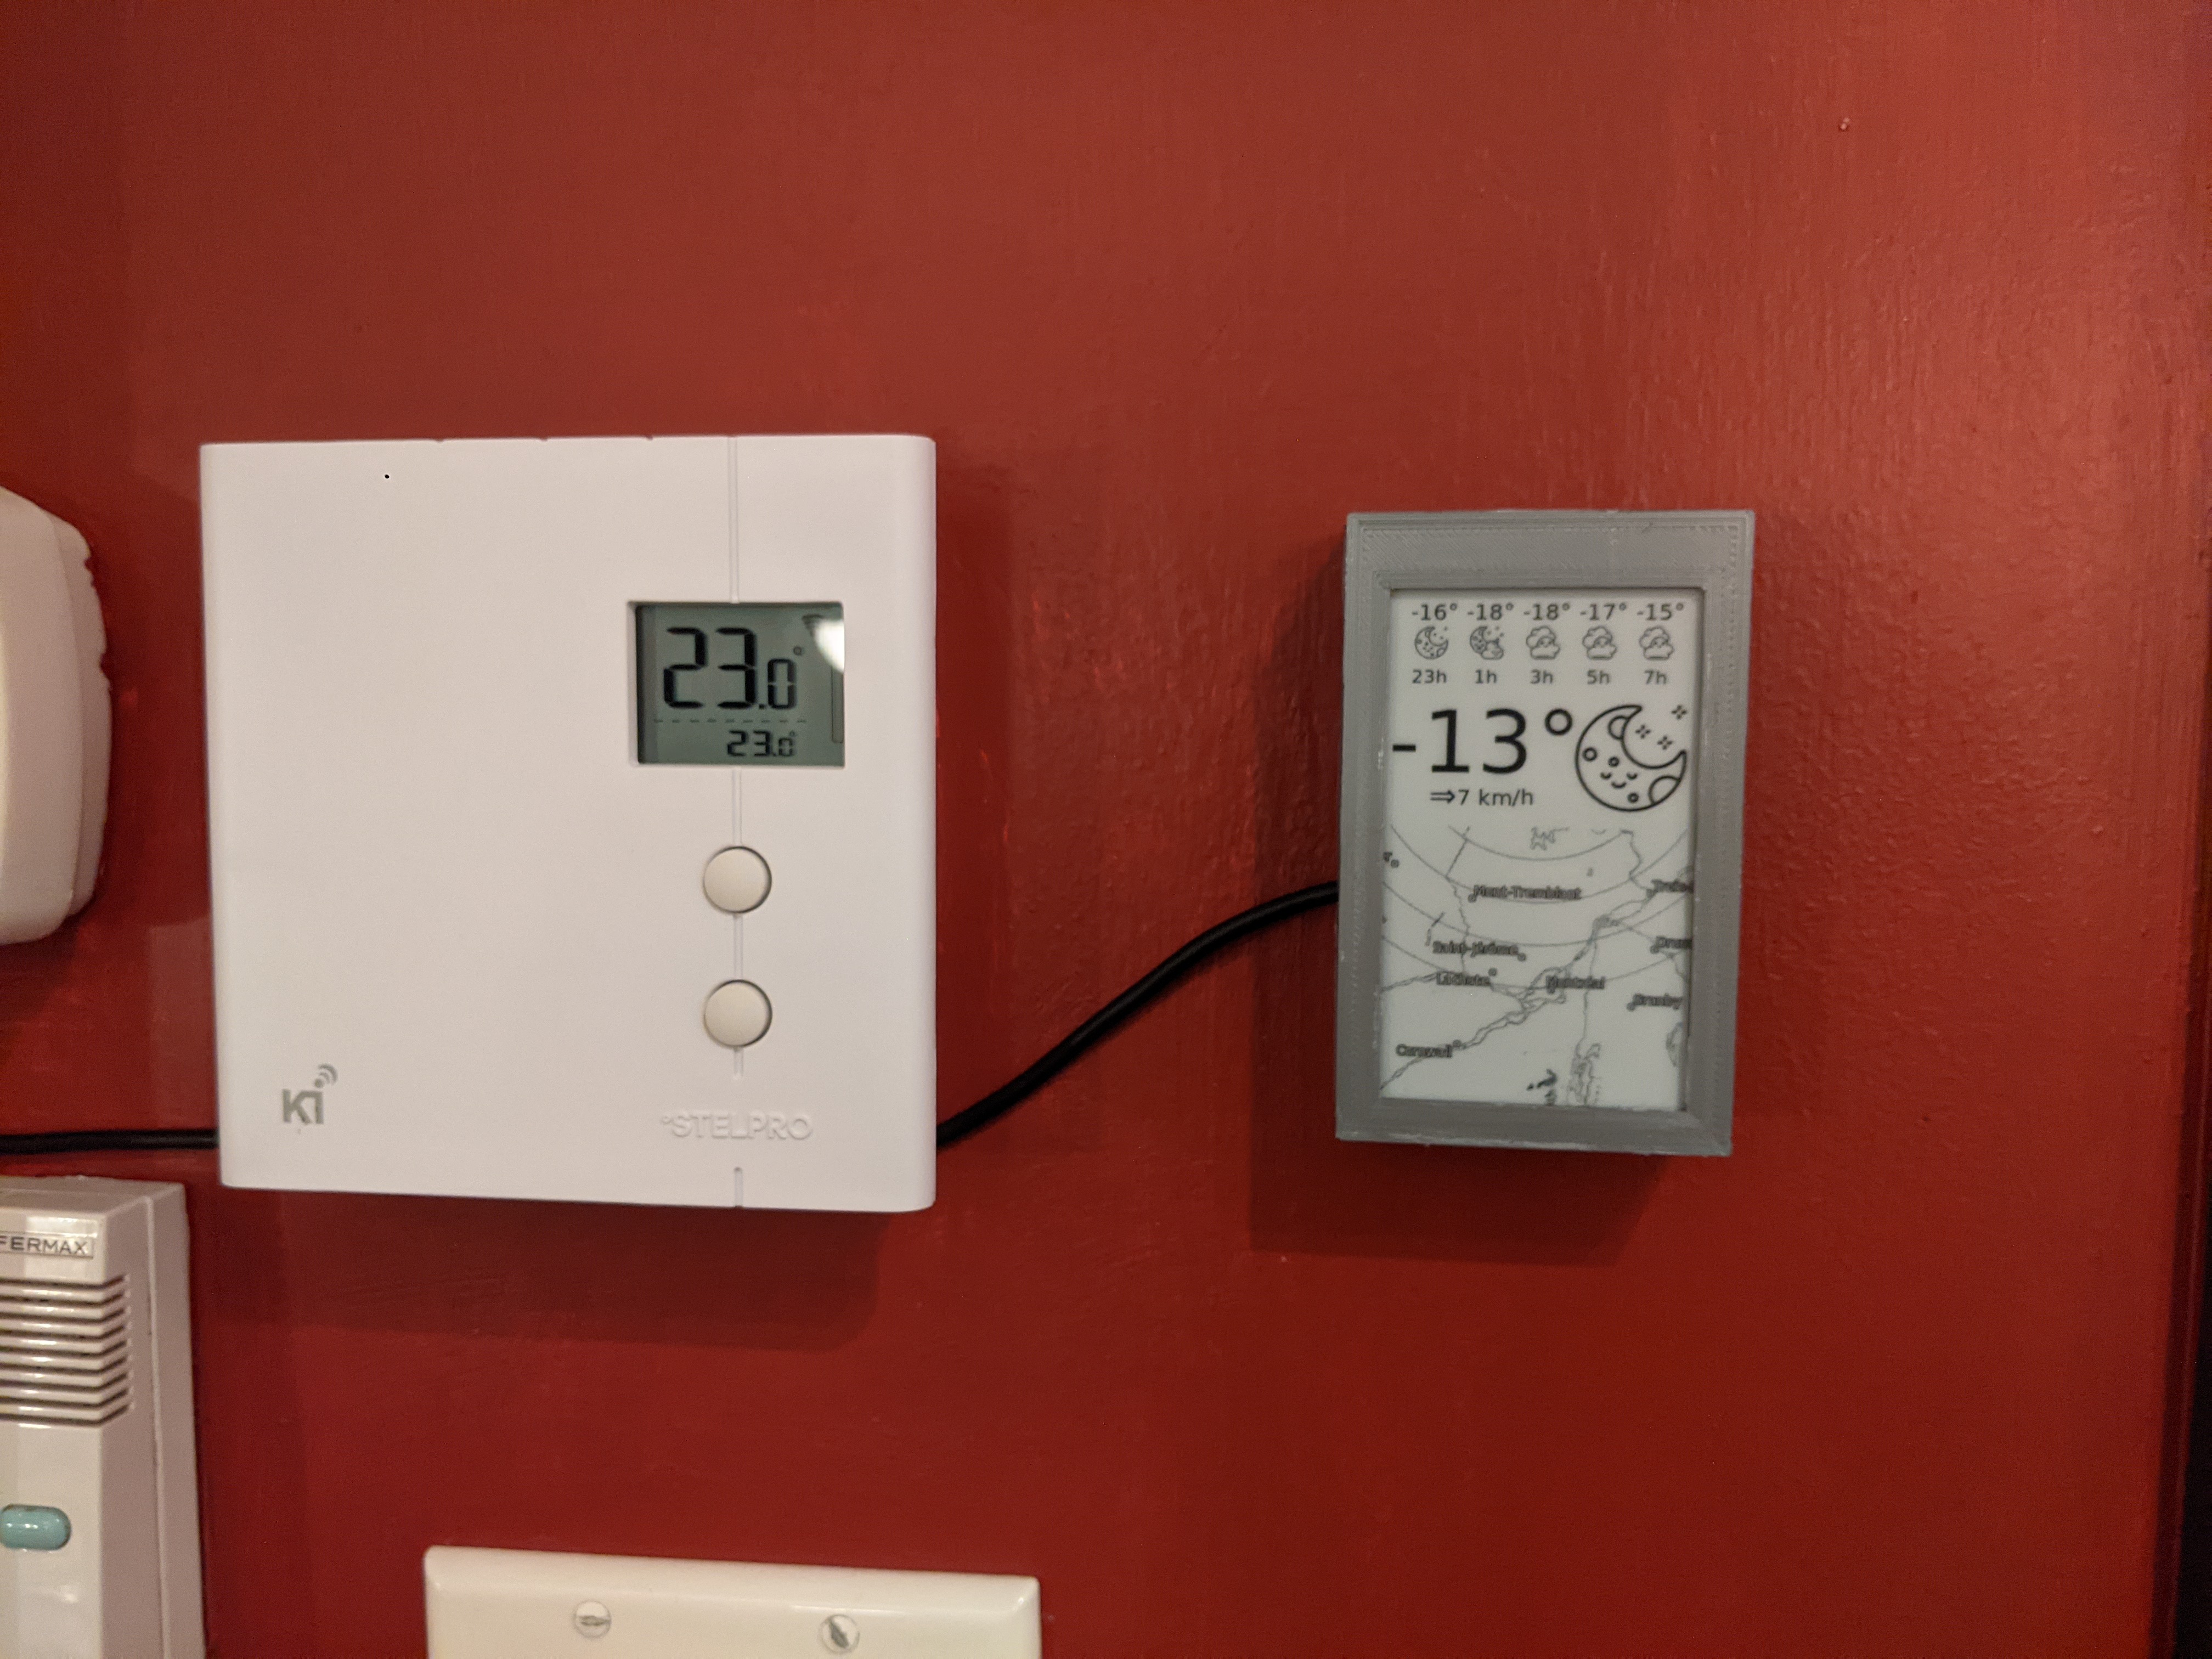
Oops. Fortunately, Piet makes it easy to rotate the canvas programmatically. I didn't even have to take it off the wall.
As always, the project source is available on GitHub. I've even included the case files for good measure. I do still have to update the readme with better information on compiling, configuring, and printing, but that can wait for tomorrow.